Welcome to WordPress
WordPress has evolved into one of the Internet’s leading website development platforms. It is highly extendable with over 55,000 plugins to help builders create engaging, functional websites with an online store, galleries, mailing lists, forums, analytics, and so much more.
While its capabilities are vast, it is also an easy to learn and use system for managing your website content. This guide provides a brief introduction to a few basics, simply because there are far more exhaustive resources available online for those who wish to delve deeper into some of WordPress’ more powerful features. The corporate website at: https://learn.wordpress.org/ being one example.
Kadence – Building Your Pages

While we did our best to cover everything in this guide, you may want to explore Kadence Blocks a little more should you want to achieve a different design outcome for a page. For this, we recommend checking out the Kadence Help Center which contains hundreds of articles covering all their block options and how to use them.
Posts & Pages
NOTE: When making changes, always remember to save your work! You save by clicking the blue “Update” button at the top right of the screen (below).

The default WordPress block editor (known as the Gutenberg Block Editor) is what you will primarily use for creating posts and pages. Adding text, images, and links is very simple to do using this editor.
Clicking the small blue “+” box in the top upper left, or the small black “+” box to the right of the main area, will open a tab with block options.

Blocks are simply ways of organizing your page; you can insert text blocks, image blocks, or video blocks, etc.
Common Blocks & Tips
Some of the most common blocks you may use include:
- Advanced Text – for fully customizable headings and paragraphs
- Advanced Image – for adding fully customizable images
- Advanced Gallery – fully customizable image galleries
We have compiled some useful tips on using blocks for you below.
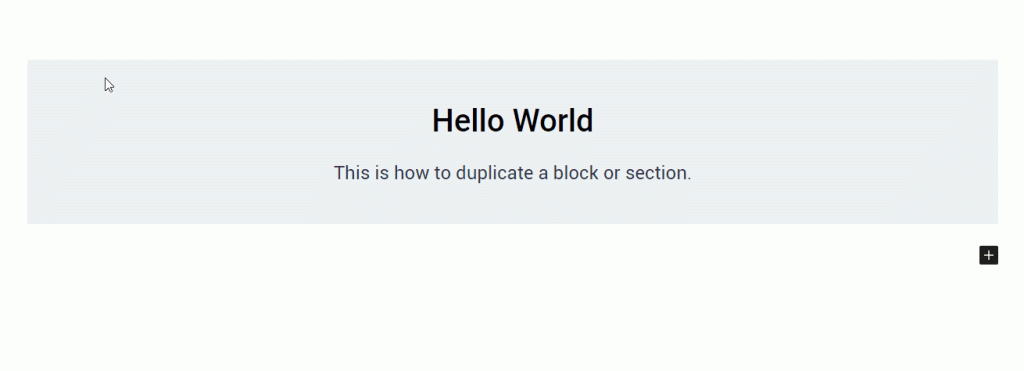
Copying and duplicating a block is a valuable function that enables you to reproduce both the aesthetics and contents of a block. This proves useful when you require multiple instances of a block with identical designs or simply wish to expedite the process by duplicating pre-existing content.
To duplicate your initial block, adhere to the following steps:
- Choose the block you wish to replicate.
- In the Block Toolbar, click on the three dots (additional options).
- Select ‘Duplicate’ from the dropdown menu.

To delete a block, simply click on the block’s “additional options” (the three dots) and select “delete”.
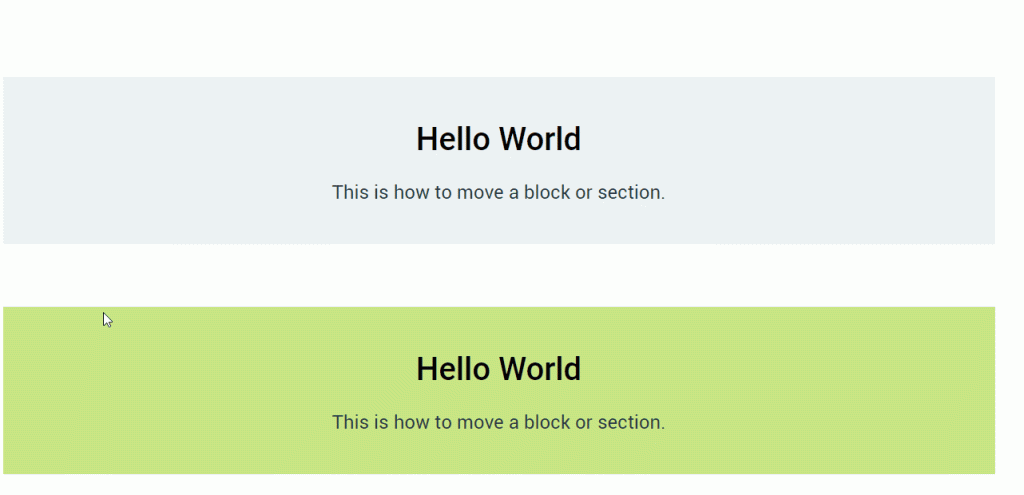
You may wish to reposition a section/block above or below its current position. To do this, simply select the block and click the up or down arrows that appear on the block’s toolbar.
Adding a document or website link to text
Linking text in WordPress is very easy – simply select (highlight) the text you’d like to link, and click the “link” icon in the overhead text editor bar. A search bar will appear, you can either search for a page, the name of a document (which will link users to a PDF), or you can add your own link (for example, an external website).
Once your text is linked, click the text again and select the “edit” (pencil icon) button in the overhead bar – here, under “Advanced” you will see an option to “open link in new tab”. If you are linking to a document, or an external website, it is best to toggle this “on” so that users don’t leave the current website.
Adding Images Next to Text
There are many ways to have images appear alongside text, but using the method described below will ensure that images/text next to each other will always appear nicely on all devices and screen sizes.

(Left) This is an example of what we want to avoid. The text wrapping the photo on the right is cut off and difficult to read.
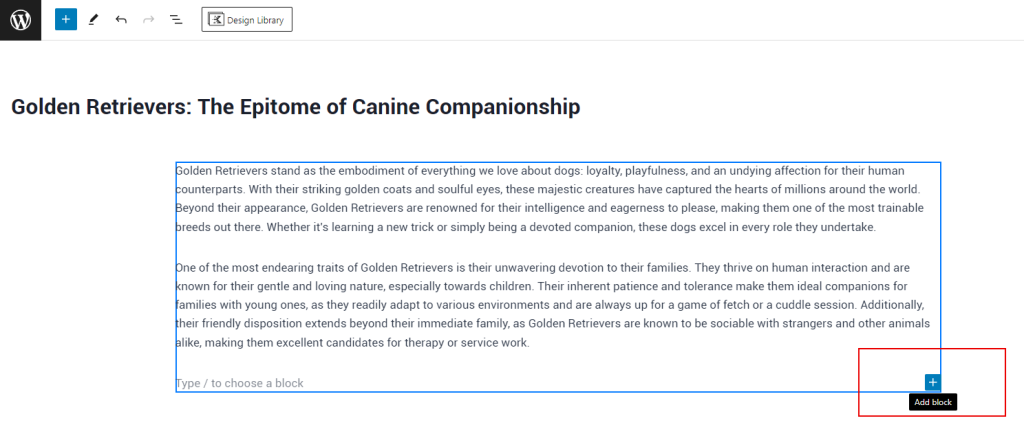
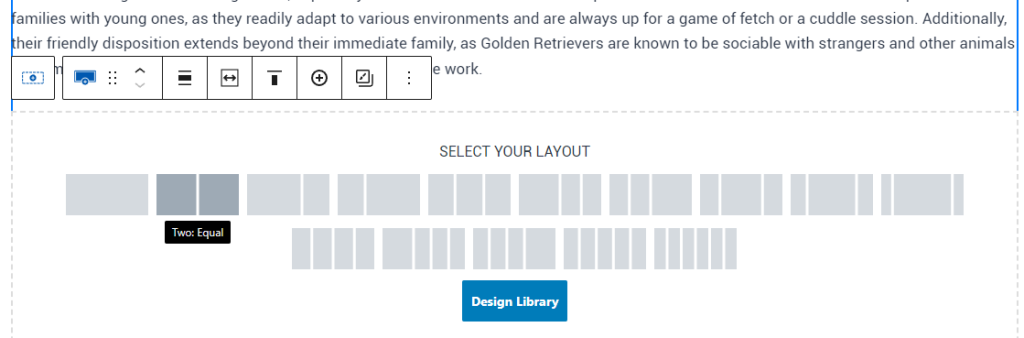
Step 1: Add the Row Layout Block
On your page where you’d like to add the image/text, click to add a new block. In the below example, we clicked the end of the previous paragraph (the period after “service work”) and then hit “ENTER”. This will automatically bring up the “Type / to choose a block” area – click the blue arrow to add a new block.
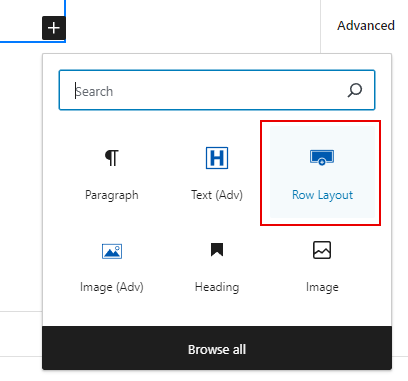
You will then see a popup, choose “Row Layout” – often this is one of the first blocks to show, but if you don’t see it, simply type “row” into the search area and it will appear.
Once the Row Layout is selected, you will then be prompted to choose an initial layout. Note that this can be changed later on, but typically starting with a simple 2-column layout works best.
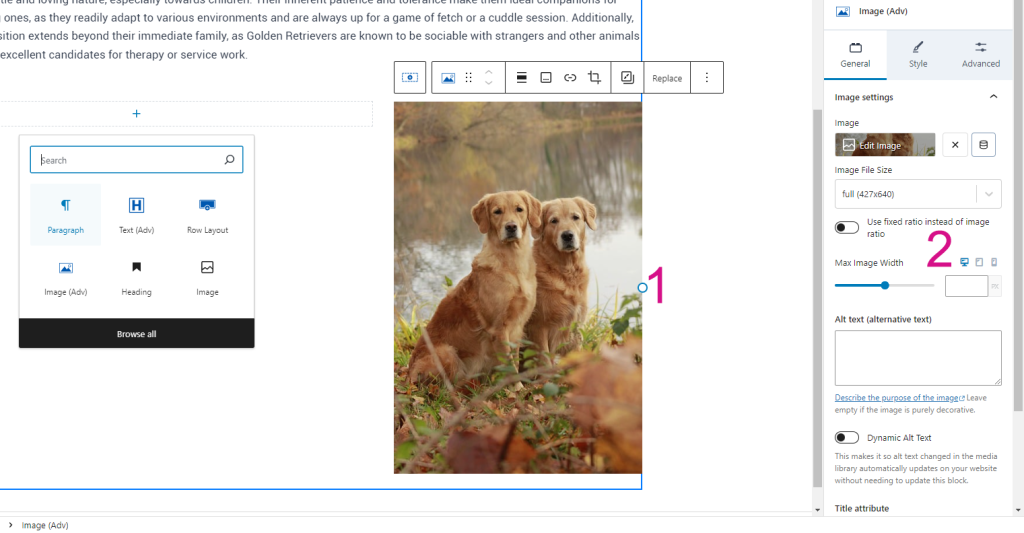
Once that new layout is selected, you will see the columns where you are going to add your image and text. If you click on the center of the row layout, you can click and drag the blue rectangle to change the column widths based on a percentage. Often the image side will be a bit smaller than the text side, so play around with percentages until you’re happy with the balance. This can always be adjusted later on as well.

Add the Content to the Columns
To add your content, simply click the “+” in either column and choose the appropriate block to add, here we added the image block as we will be adding the image to the right side of the row layout. Either choose an image from your Media Gallery or upload a new one.
(1) Clicking and dragging this circle will allow you to change the width of the image to your liking.
(2) You can also change the width here by entering a number (pixels) or dragging the slider to change the size.
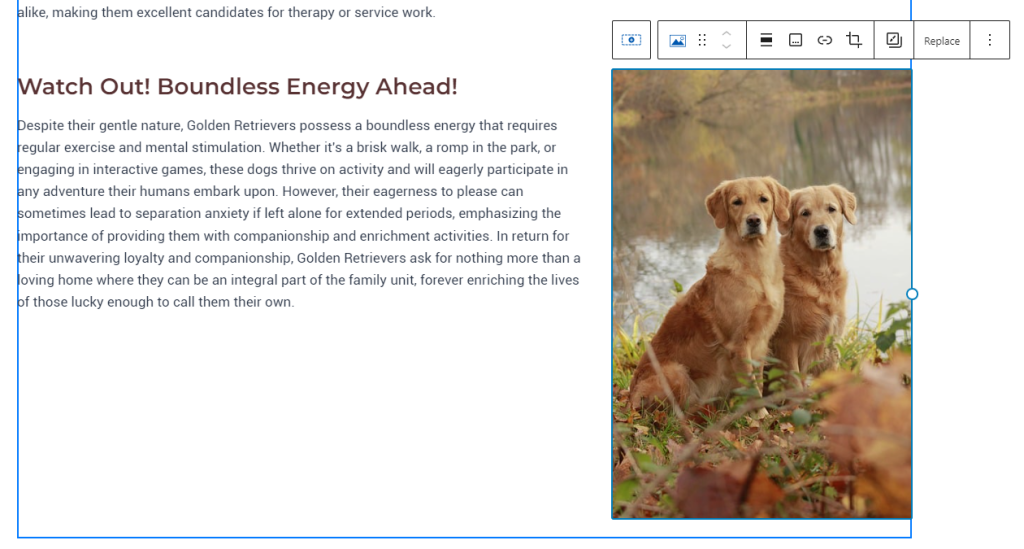
Once you’re happy with that, you can add your content to the other column. In this example we are simply adding paragraphs and headings, but you can add whatever blocks you want to use to these columns – this is really just a convenient way to organize content and ensure it stacks nicely on mobile devices.
You can see the end result below.
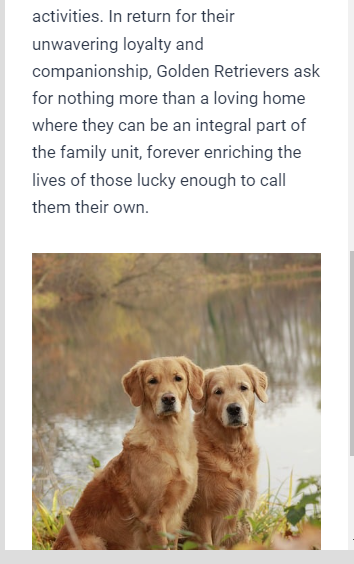
Finally, let’s compare these two screenshots of mobile devices. The one on the left was created without columns, and thus the text is wrapping strangely around the image. The one of the right was created with two columns, so the device knows to stack them once a certain screen size is hit.
Adding/Changing Sponsor Logos
Sponsor logos are currently found on both the homepage and the “Sponsors” page of the website. If the new logo will appear in both places, you’ll have to add it to both pages.
- “Edit” the page where you’d like to add the new logo.

2. Simply click on the logo you’d like to change, then “Replace” and “Upload” your new image.
Menus and Headers
Adding Pages to the Primary Menu
From your dashboard, go to “Appearance” -> “Menus”.
You will see “Select a menu to edit” – make sure you have “Main Menu (Primary)” selected (you need to click “Select” after choosing the correct menu).
This menu is the main (primary) menu found in the header of your site – it does not impact the sidebar menus you see on inner pages.
To add a page, you simply find it in the left-hand bar, select “Add to Menu”, and then you can drag the page block to where you’d like it to appear (it will automatically be placed at the bottom).
Always click “Save Menu” to save any changes.

